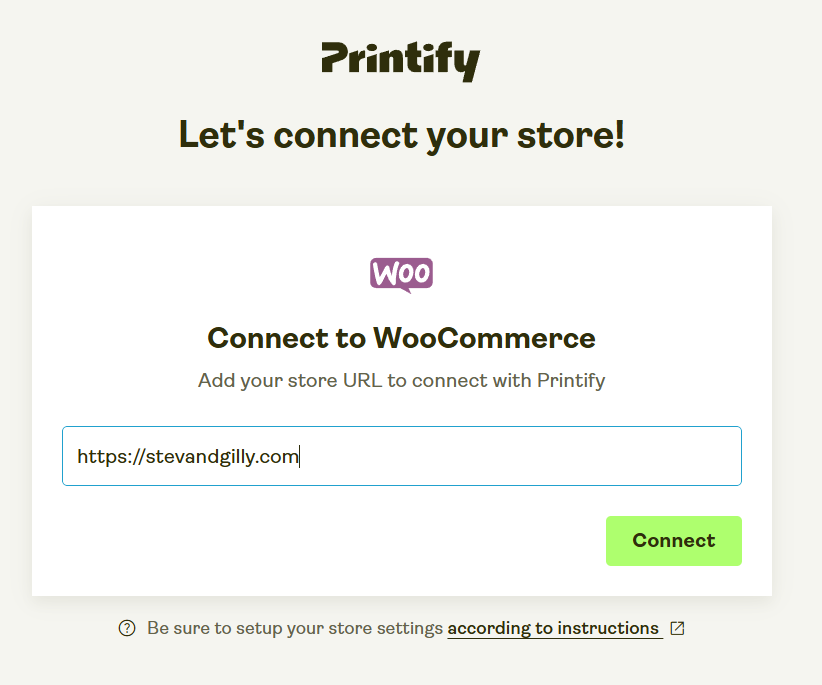
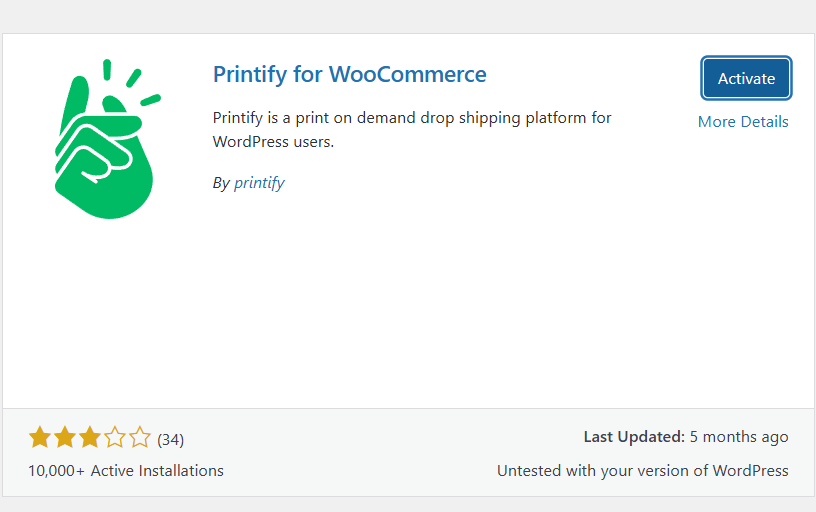
Integrating Printify with your WooCommerce-powered WordPress site enables you to offer a wide range of print-on-demand products without the need for inventory management. Follow these steps to set up the integration:
1. Prepare Your WooCommerce Store:
- Install WooCommerce: Ensure the WooCommerce plugin is installed and activated on your WordPress site.
- Configure Permalinks: In your WordPress dashboard, navigate to Settings > Permalinks. Select any option other than “Plain” (e.g., “Post name”) and save changes.
2. Connect Printify to WooCommerce:
- Access Printify Account: Log in to your Printify account.
- Initiate Connection: In Printify, go to Manage My Stores and click Add new store.
- Enter Store URL: Input your WooCommerce store URL (e.g., https://yourstore.com) and click Connect.
- Authorize Connection: When prompted, approve the connection to link Printify with your WooCommerce store.
3. Install Printify for WooCommerce Plugin:
- Install Plugin: In your WordPress dashboard, navigate to Plugins > Add New. Search for “Printify for WooCommerce,” install, and activate the plugin.
- Configure Shipping: The plugin will automatically apply the correct Printify shipping rates to your products. Ensure your shipping settings in WooCommerce are configured to use these rates.
4. Add Products from Printify to Your Store:
- Design Products: Within Printify, choose products and customize them using the Mockup Generator.
- Publish Products: Once satisfied, publish the products directly to your WooCommerce store. They will sync automatically.
5. Manage Orders:
- Order Processing: Orders placed on your WooCommerce store will appear in your Printify dashboard, where they will be processed and fulfilled automatically.
By completing these steps, you can seamlessly integrate Printify with your WooCommerce WordPress site, offering a variety of custom products to your customers without handling inventory or fulfillment.